Monday, March 28, 2011

Making some drapes

After reviewing SEVERAL blogs about how to make curtains without sewing, I finally took the plunge! And it really wasn't too difficult. It was a little time consuming, but I'm sure it is still less time consuming than actually sewing them. The most difficult part was making sure everything was square and straight.

I wanted the curtains to go all the way to the ceiling to help elongate the space, or about 7ft 6 inches
 (there is a little bump down where a pipe runs through so it isn't quite the height of the real ceiling)
see it up there at the top??
So, with a 4 inch seam on the bottom and a 2 inch seam on the top I figured I needed to cut the fabric right at 8 ft long. The easiest way for me to do this STRAIGHT was to lay it out on our rug in the Wii Room that just happens to be 5' x 8'. I have to say- this was super helpful and is probably the only way I could confidently cut straight- but that's just me- I can't cut straight for the life of me. It's a disease!


you can see my measuring tape in the top corner- just to be sure

Anyways- so I got both panels cut (I bought 6 yards of fabric so I knew I would have more than enough- and I ended up having enough to make a roman shade for the window above the kitchen sink!)

Then I pretty much just followed the directions of the Heat N'Bond ultra hold hem tape. Having everything laid out completely flat first I ironed the fabric a little to get all the major wrinkles out, then just pulled the tape along the long sides first.

In sections I ironed the sticky side of the tape on to the curtains, holding the iron on each section for at least 5 seconds. The paper side of tape is what you will be ironing directly on.

Also- I realized this as I was about to iron- make sure to set the hem tape in a few inches so that you have enough fabric to pull all the way over and cover the hem tape. See above how I left some space; the tape wasn't right up against the edge of the fabric

Let this cool for a few minutes- while each one was cooling, I did the next side- I did the two long sides together at once then turned and did the short sides. After the tape has cooled, come back and peel all the paper off of the backside of the tape. I found it worked easiest without tearing if I kept a finger on the tape with some pressure as I pulled it off with the other hand:


Then just fold your fabric over the tape- making sure to fold over the same amount all the way down- a little tricky on the long sides but if you use a ruler as you go its not too bad. And really, I'm sure mine isn't completely perfect,errr who am I kidding- I KNOW it's not all completely perfect but you really can't tell once they are up as long as it's pretty close.
So I continued doing this on all four sides of each panel- I had two, one for each side of the window (OBVIOUSLY!) so it was a nice Saturday morning's worth of work, but it gets faster as you get more comfortable with the tape and get into a groove.
This is the seam once it was put in place and ironed down. It's really a nice sharp corner that looks really good- I was impressed!

I did not make curtain pockets because I had already decided to use curtain rings. I decided on these for two reasons-
1. It's easier to make the curtains without the pocket
2. It's easier to open and shut the curtains when they are on the rings. ( I know because none of the rest of our curtains are on rings and they are so hard to move around, I desperately want to get rings for all of them!)

In the end I found out reason #1 isn't really valid- all you have to do to create the pocket on the top of the curtain panels is to put the hem tape about 5 inches further down that you normally would so that when you iron the tape to secure it you have about a three inch space between the top of the fabric and the hem- just enough to run through a curtain rod! So it's really just about ease of use and aesthetics.

And voila! You're done.

close up of the curtain rings

you can see how I folded over the top until I got to the perfect length- I didn't want any fabric pooled on the floor because I worry about them getting dirty in the kitchen, etc.
Unless you are anal like me and want to make more stuff with your super fun hem tape while your poor husband quietly and patiently (well trying to be at least) waits on you to finish so you can go to lunch!

Being myself, I threw together a little roman shade for over the kitchen window sink too- and it was RIDICULOUSLY easy- especially after the big curtain panels. I just measured how wide it needed to be- I wanted mine to be completely flat, not ruffle-y so I measured the exact width of the window and the length I wanted and got to ironing. On this one, since I was not using curtain rings, I made sure to put my hem tape a few inches lower than normal to leave myself some space to run the curtain through the rod and BAM!

Done.
So cute don't you think?

Friday, March 25, 2011

Snickerdoodle Muffins

I found these muffins on Two Peas in their Pod the other day and I knew I had to make them immediately and what better reason than having friends in town staying with us- it would be the perfect easy breakfast Saturday morning as we all rolled out of bed. And man was I right! These are DELICIOUS and super delicate and oh so tasty. Don't skip the rolling in the cinnamon sugar step- it's so cool- it really seeps into the muffin and swirls throughout it. And the crunchy top- divine. LOVE LOVE LOVE these little muffins.

Adapted from Tasty Kitchen

Ingredients
  • 1 cup Butter, Softened
  • 1 cup Sugar
  • 2 whole Eggs
  • 2 teaspoons Vanilla
  • 2-¼ cups Flour
  • ¾ teaspoons Baking Powder
  • ¾ teaspoons Baking Soda
  • ¾ teaspoons Cream Of Tartar
  • ½ teaspoons Salt
  • 1 cup plain Greek yogurt
  • ¼ cups Buttermilk
FOR THE TOPPING:
  • ⅔ cups Sugar
  • 2 Tablespoons Cinnamon
Preheat the oven to 350ºF. Prepare a muffin tin with liners.
In a mixer, combine the butter and sugar and cream until fluffy. Add the eggs and vanilla and combine.
In a separate bowl, combine the dry ingredients. Add half of the dry ingredients to the mixing bowl and stir to combine. Add the yogurt and buttermilk and mix to combine. Add the rest of the dry ingredients and mix until you have a smooth batter.
In a small bowl, combine the sugar and cinnamon for the topping.
Use scooper and plop a scoop of batter into the bowl with the sugar and cinnamon.

Gently roll the batter in the sugar and cinnamon.

Place the ball into the muffin liner. When you have completed all of the muffins, sprinkle the leftover cinnamon sugar onto the tops of all of the muffins.

Bake the muffins at 350ºF for about 20-25 minutes or until they are golden on top and just baked through.
* All pictures taken by Two Peas and their Pod

BEAUTIFUL!!! And so tasty.

Wednesday, March 23, 2011

The Lighting is here!!

WHOA! this is what I came home to the other day! Super fun surprise.

ALL of our lighting came in the mail and I'm pumped. I opened one up because I couldn't help myself. Look how pretty it is!!


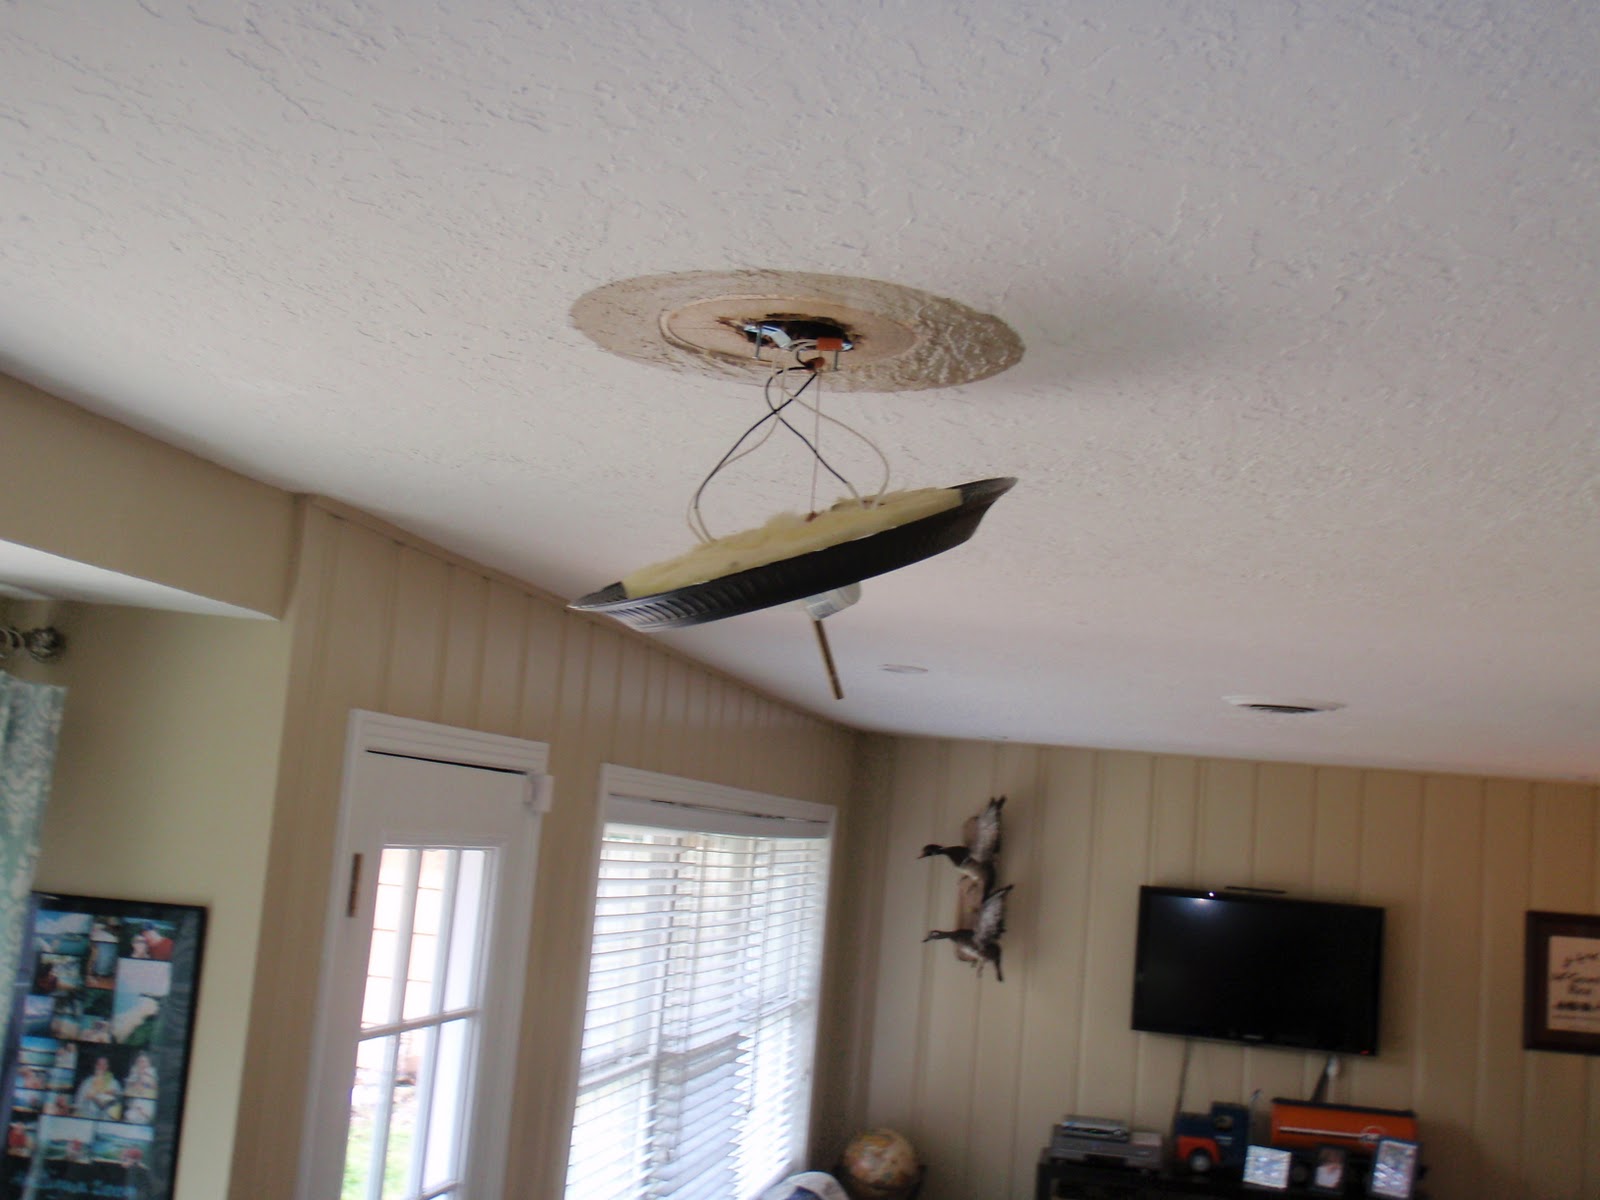
Now we just have to work on getting them up. After checking to see what was under the old lights and really just in anticipation of putting the new lights up, we took down the current icky light fixtures and found this.... wrut wroe!!
PROBLEM!! That hole is HUGE! Looks like we may be getting some professional help after all because the hole is huge, that's some weird looking electrical stuff up there and the drywall that goes in will need to be textured the same as the rest of it! So my easy little project got a wee bit more complicated- but we can handle it- no problem!

In comes our great contractor, hopefully by the end of the week :) so that holes like this:


and this:
check out all that different colors of paint- and the nice little scorch marks!!

...will be back to looking like a normal ceiling.... and we'll have some lights again!!

I'll keep you posted

Monday, March 21, 2011

KNOB WILD!!

Woo hoo- like my pun??

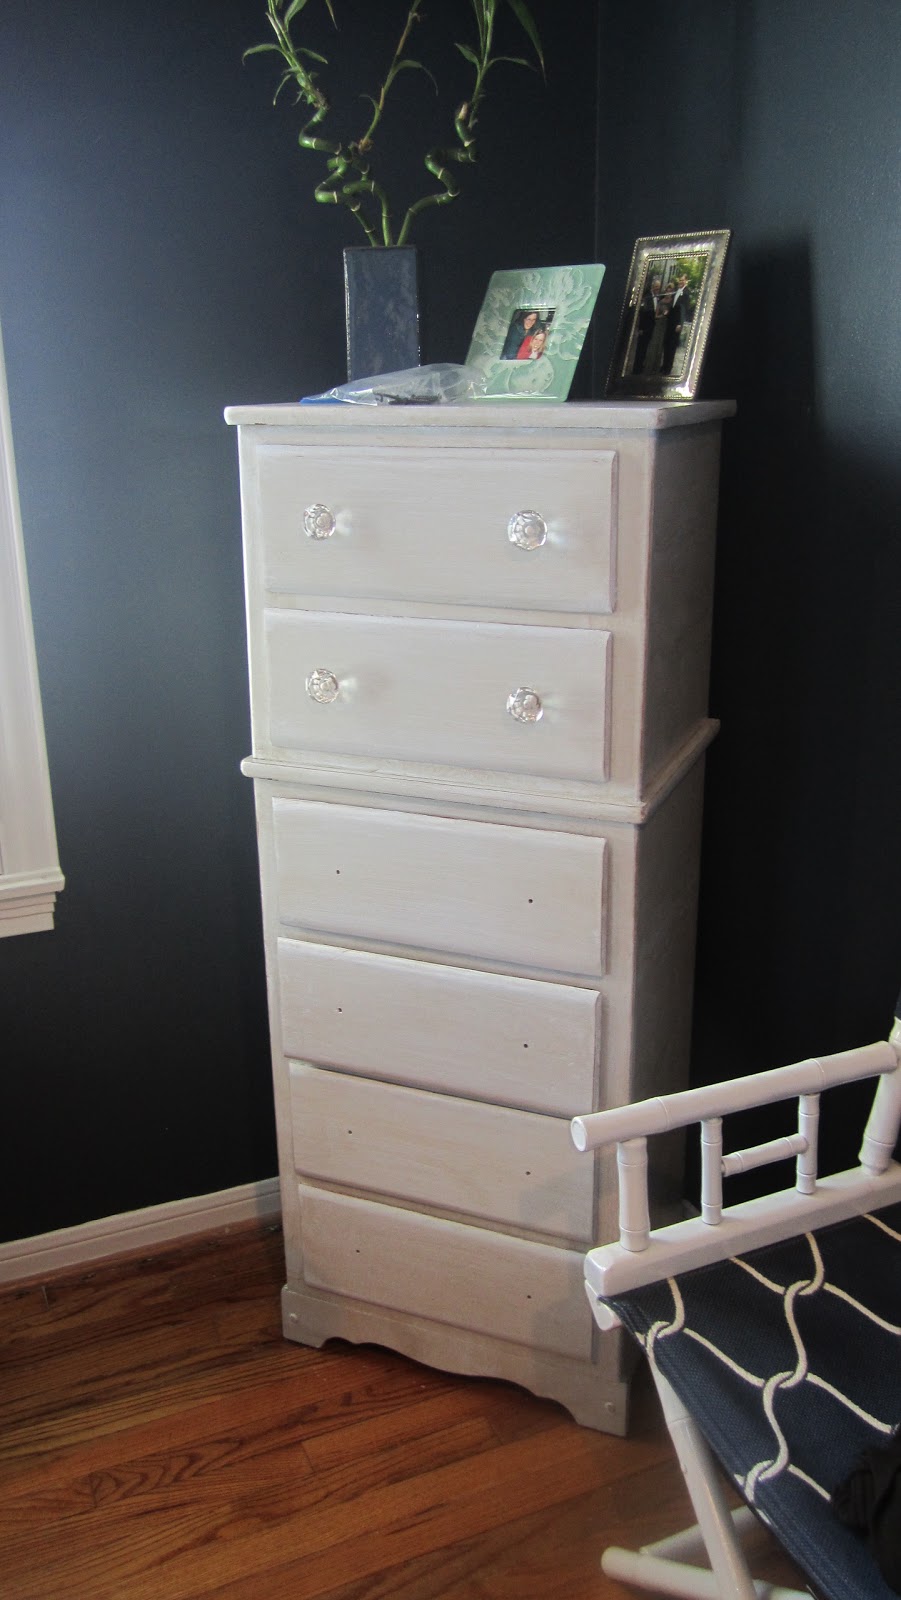
It's especially appropriate for us Houstonians during the annual Rodeo and Livestock Show! So, like I mentioned earlier- the knobs at my Hob Lob are on sale. NOW! So I went, fast and got a LOT of knobs. (That’s a really strange sentence…) I went looking for 12 crystal knobs for the refinished chest for the guest room. Then I picked up two knobs that I LOVED J but they only had 2 L so I couldn’t put them on our master bedroom chest. But I decided to take them anyways and see if there was something else I could put them on. THEN I found some really similar ones that I also really liked and guess what- they had 10! Just enough for our master bedroom chest!!! So I walked out of Hobby Lobby with yes, 24 knobs!!! HAHA P didn’t quite know what to think.
Anyways- on to the good stuff- I have now re-knobbed all of our chest of drawers!!
The original project:
 Please, don't notice that they aren't all on yet!

My bedroom chest

My current bedside table (which prob won’t be living here much longer)
And no making fun of my p-jammer! YES it is from 1986 and YES it still works!
The P jammer is the best! Still kicking! And it let's off less light than newer models and I like the room to be BLACK when I go to sleep :)

SO FUN! I seriously want to put new knobs (I guess I could just say hardware) on everything in our house! Its amazing what a difference it makes. I clearly didn't take any before pictures both both of these had very dark/ almost black small knobs. Nothing special. These make it so much more personal!